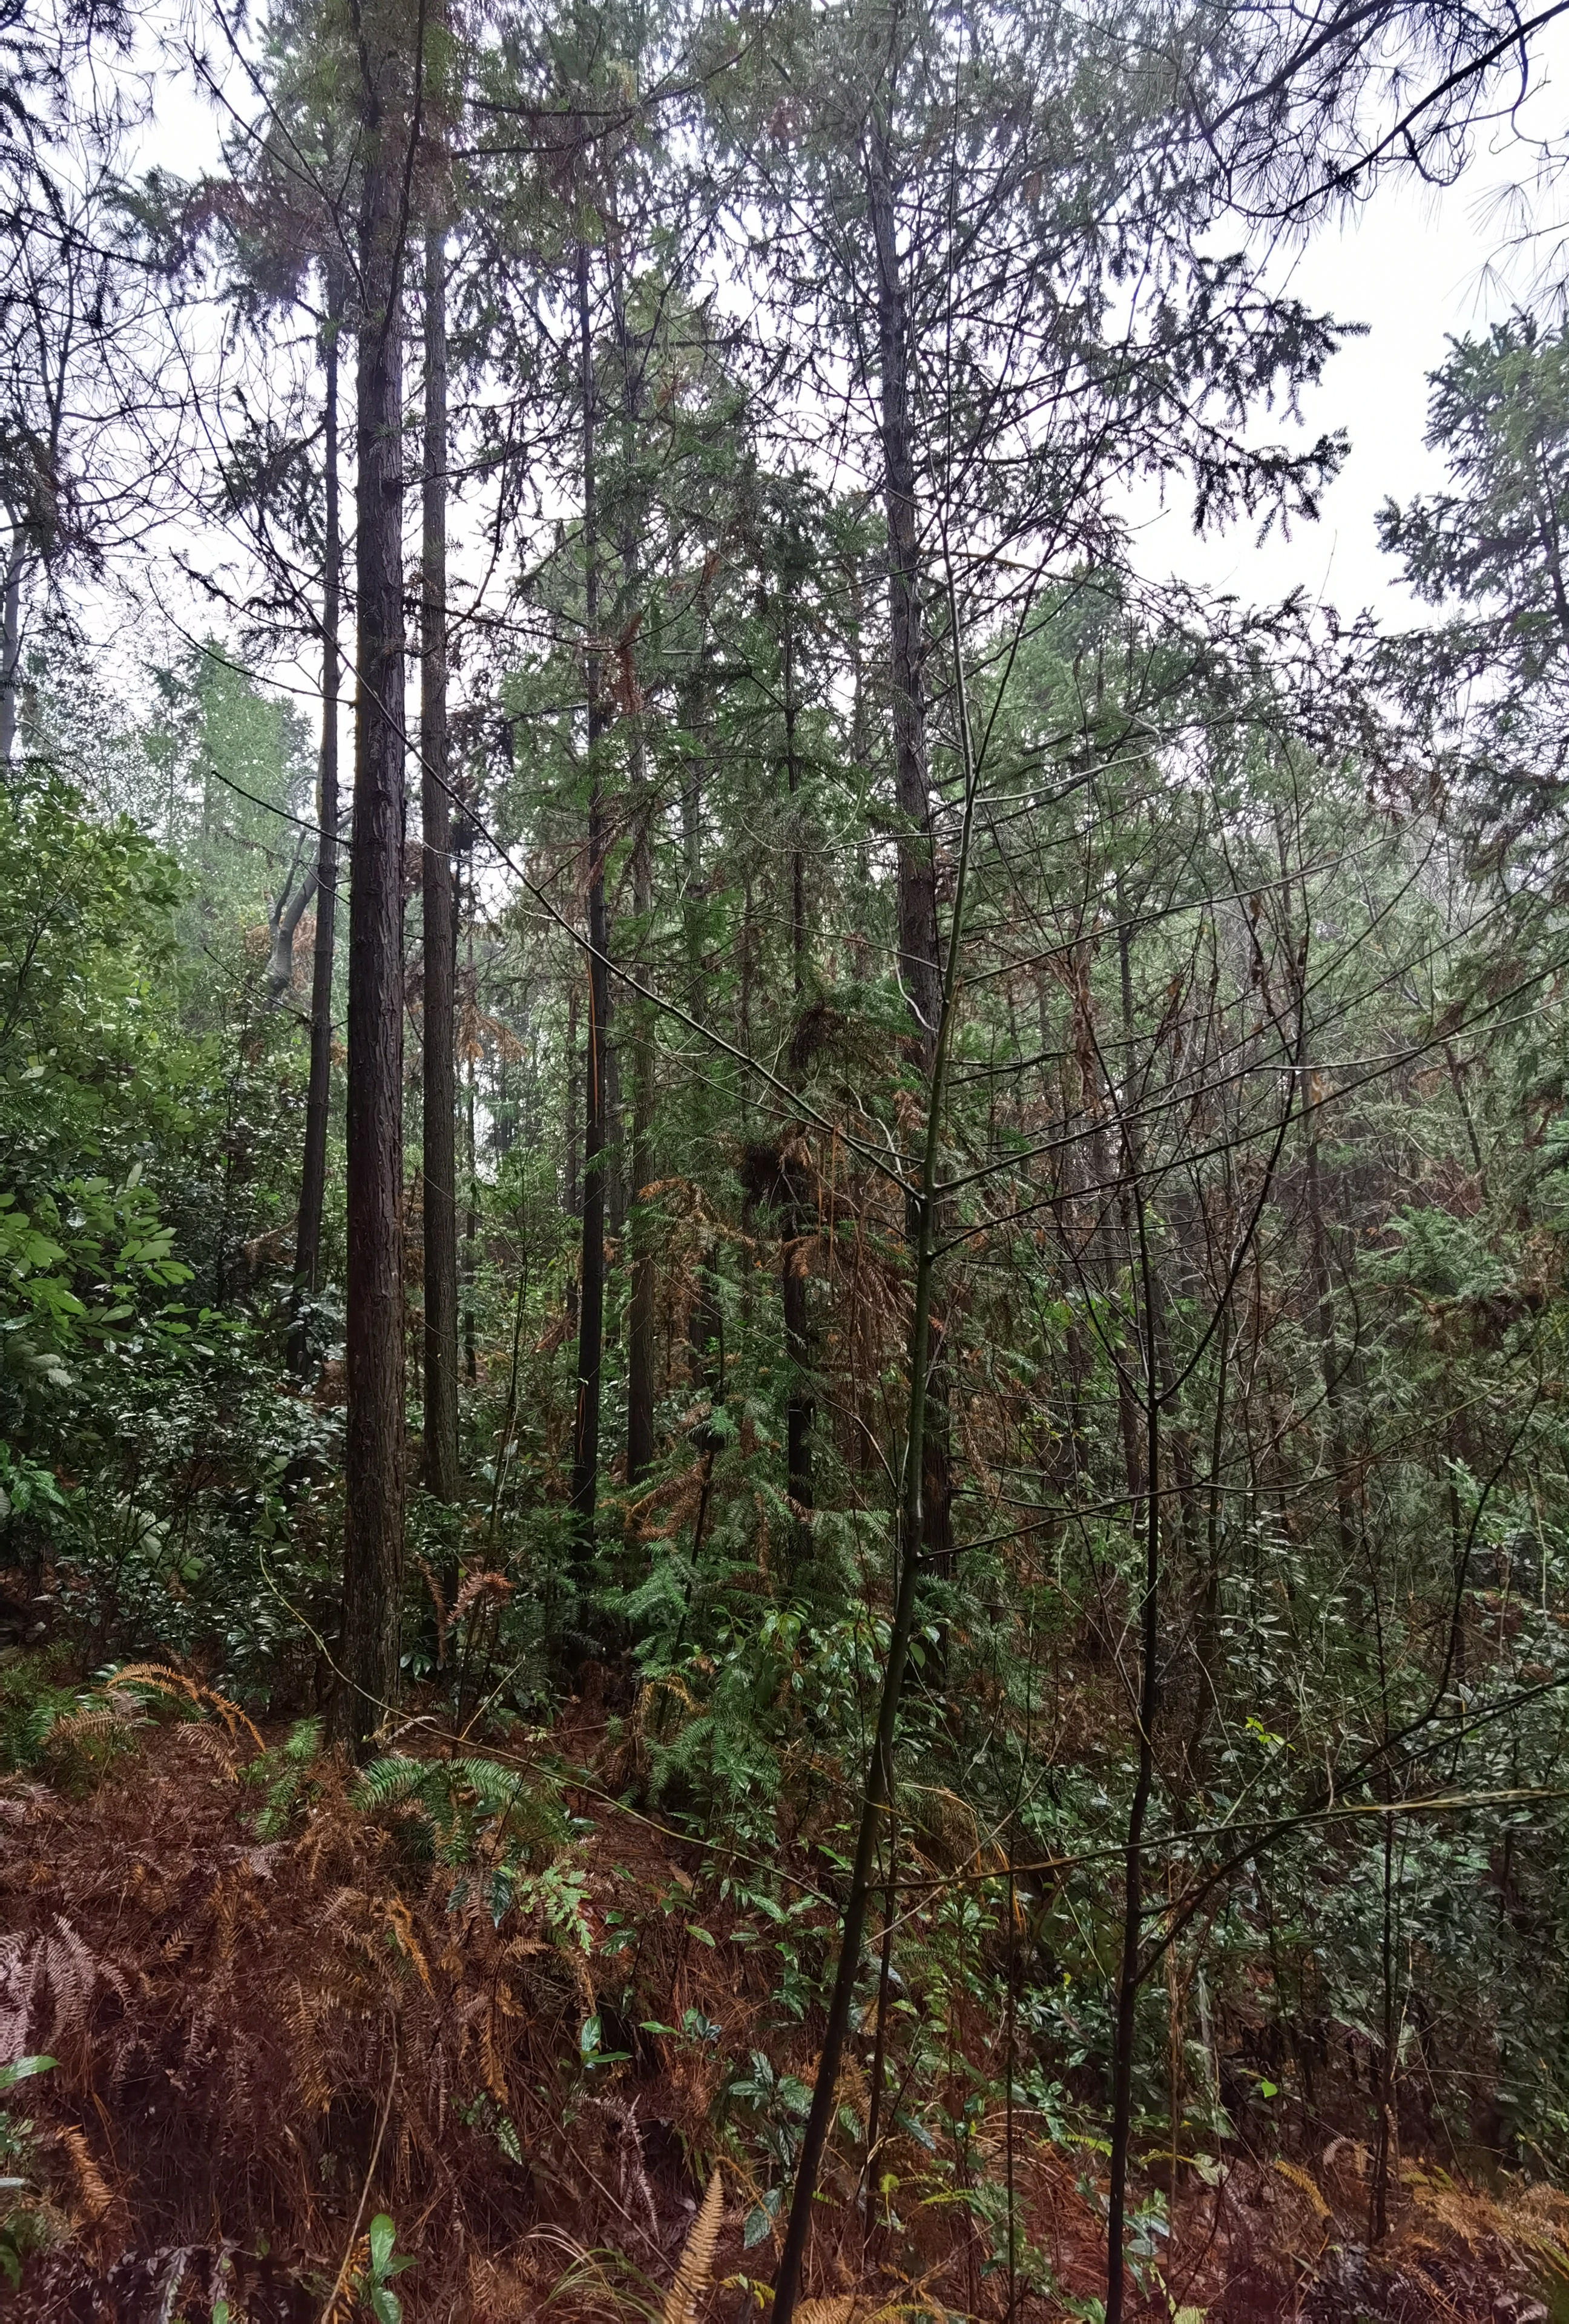
Have a look at this image of trees and other miscellaneous bushes. It looks just like any other ordinary photo, but in fact the entire text of 1984 by George Orwell is embedded within this image. Steganography is the practice of embedding data within some medium, be it an image, audio file, video file or even other text files. After watching a Computerphile video (“Secrets Hidden in Images (Steganography)“), I’ve attempted to implement one of the techniques called the Least Significant Bit (LSB) Steganography (on RGB values).
The image used is in PNG format, a lossless compression (which is important , since we need to preserve the exact RGB values of each pixels). I’ve implemented LSB Steganography on images in Python, with the help of Pillow, an image processing library. We will also need to manipulate bits, which requires the help of bitarray and struct libraries:
1 | from PIL import Image |
Let us first consider the Encoder, the program that will embed data we give in the image we provide. The plan is as follows - we want to embed our data (in this case the texts are encoded with utf-8) in the least significant bits of each RGB value. Each pixel contains 3 Bytes (24 bits) of data, 1 Byte each for Red, Green and Blue components (unsigned char with values ranging from 0 to 255). The first step is to read our image in:
1 | class Encoder: |
By calling the .load method, self.pix can then essentially be seen as a 2D array of pixels, each containing a 3-tuple of RGB values.
Next, we read data that we want to hide in the form of bits. First, declare a bitarray for the data to store in:
1 | def __init__(self, path): |
to which we can appended messages to:
1 | def append(self, message): |
Note the size check in line 8. Since the image we read in has a fixed size, it has a capacity in terms of the data we can embed using only the LSB. In particular, the number of bits we can embed in the image is the number of pixels multiplied by 3.
Let us now choose to embed our hidden message in the order from top to bottom, from left to right, and from R to G to B. This means we start at the red value of top-left-most pixel, and move to the blue value for the next bit, and green bit. We will declare these counters as a class attribute:
1 | def __init__(self, path): |
Here I have taken an iterator approach, by using next, get_val and set_val to traverse the image array and make modifications:
1 | def next(self): |
Now we can begin to encode data. One caveat is that when we try to decode our message from the image later, we need to know how long our message is. We convey the length of our message by first embedding a header of length 4 Bytes (unsigned int) that is the length of our data:
1 | def encode(self, save_to): |
Then, all we have to do is go through the bits of our data, and encode them in the image we have:
1 | def encode(self, save_to): |
And we are done! To encode our data, we can run
1 | # Read our image to embed |
Of course, with every Encoder comes with a Decoder. I encourage you to implement a Decoder that extracts information encoded in the image. The Decoder reads the image in as pixels, determines the header and reads data of given size in the same order the Encoder did. By then decoding the bytes in utf-8, we can recover the original message.
Decoder:
1 | from PIL import Image |
About this Post
This post is written by Yifan C, licensed under CC BY-NC 4.0.